Aphid Control: 5 Steps to Build Effective Eco-Friendly Traps
"Don't reach for the chemical spray the moment you see a tiny pest; instead, learn how to turn your garden into a biological trap that manages aphids naturally and safely."
To manage aphids without harsh chemicals, you must exploit their visual attraction to specific colors—primarily yellow—and combine these physical traps with biological controls. By using recycled materials and strategic placement, you can intercept pests before they reach your crops.
This approach protects your soil, your family,s health, and the beneficial insects that keep your garden balanced.
* Visual Attraction: Use specific colors like yellow to exploit insect photoreceptors. * Non-Toxic Removal: Combine physical traps with biological controls to eliminate pests without residue. * Preventative Maintenance: Regular monitoring and strategic placement are more effective than reactive spraying. * Zero Waste: Utilize household items to create effective pest management tools.

Why are aphids attacking your crops and why avoid chemicals?
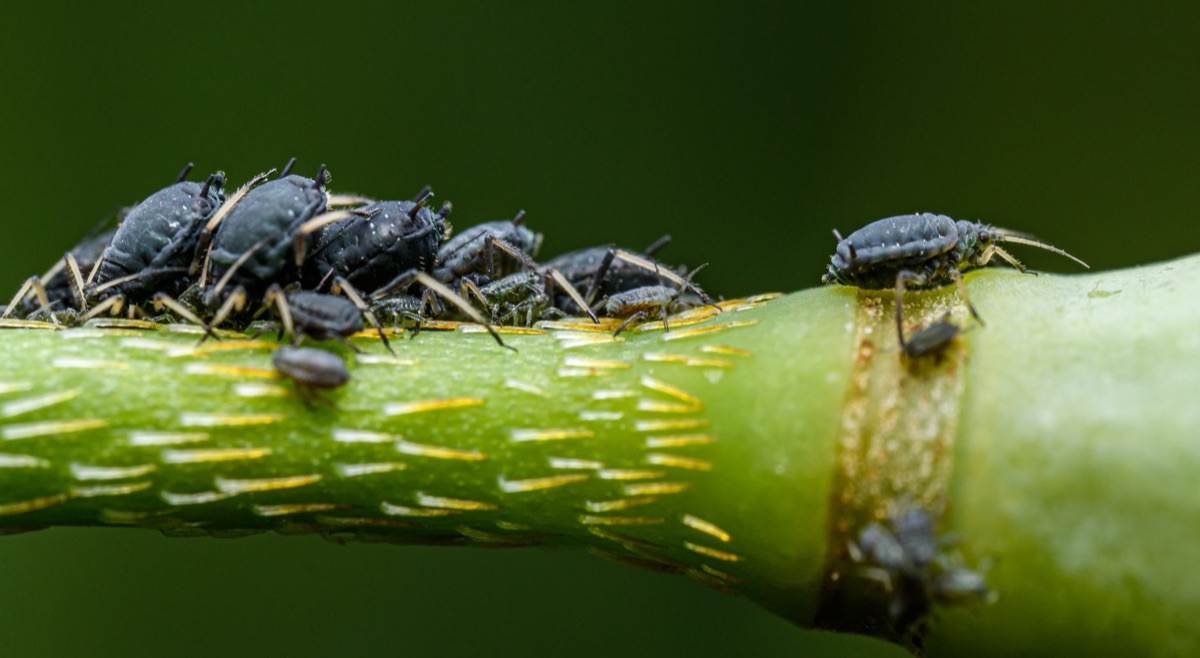
The morning sun hits the tomato leaves in my backyard, revealing a sudden, shimmering coating of sticky residue. I reach for the spray bottle, but I stop. A week ago, those same leaves were pristine. This is the reality of the aphid lifecycle.
Aphids possess a terrifying ability to reproduce through parthenogenesis, meaning females can produce offspring without mating. This leads to an exponential population explosion where a small group can become a colony in mere days.
Because they target the tender, nutrient-rich new growth, they can decimate a vegetable patch before you even realize the scale of the problem.
When gardeners reach for synthetic pesticides to solve this, they often fall into the "chemical trap." While the spray might kill the aphids, it also wipes out the beneficial predators—like ladybugs and lacewings—that were supposed to do the work for free.
This creates a "secondary pest outbreak," where the remaining pests, now free from competition, surge back even harder.
Choosing an eco-friendly path protects the delicate soil microbiome and ensures that the vegetables you harvest are safe for your family and pets. The first step in prevention is diagnosis.
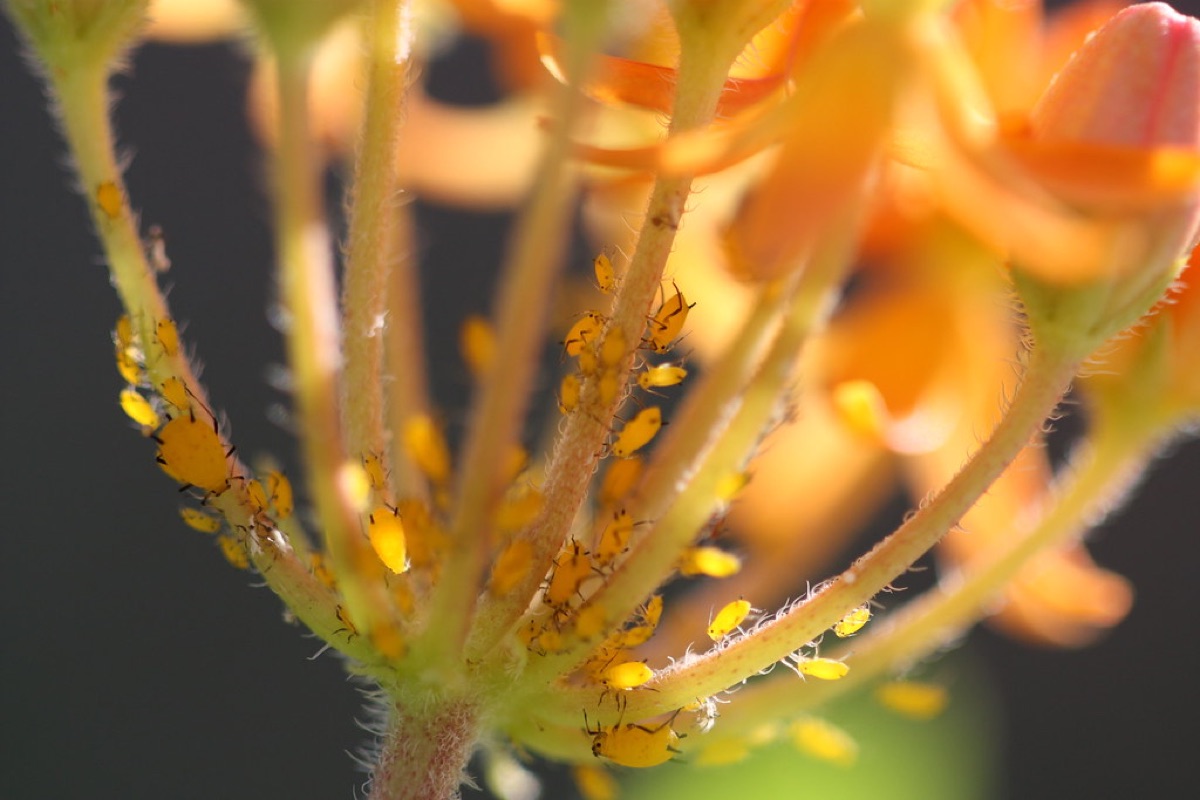
Look for curled, stunted leaves or the presence of "honeydew"—that sticky, clear substance left behind by aphids. If you catch them early, you can manage the colony without a single drop of poison.
Preparation: What materials do you need for an eco-friendly trap?
I sat on my porch last Sunday, sorting through colorful plastic scraps and old containers, wondering which would work best for my new garden layout. I realized that effective pest control doesn't require a trip to a massive hardware store; it requires an understanding of insect biology.
The foundation of an effective trap is color. In the world of insect attraction, yellow is the gold standard for aphids and whiteflies because it mimics the visual signals of healthy foliage or specific floral cues. Blue is often used for thrips.
When building your traps, you want colors that stand out against the green of your plants.
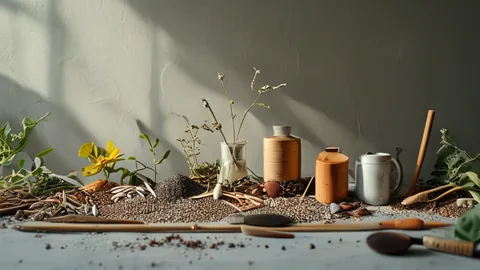
For the adhesive or lure, you can use petroleum jelly, yellow liquid soap, or specialized eco-friendly sticky resins. If you are building DIY traps, recycled plastic containers or sturdy wooden stakes work perfectly.
You will also need a ruler or measuring tape to ensure your traps are placed at the correct height relative to your crop canopy.
| Material Category | Common Household/Eco Options | Primary Function |
|---|---|---|
| Visual Lure | Yellow plastic, yellow-painted boards | Attracting flying pests |
| Adhesive | Petroleum jelly, sticky resin, yellow soap | Trapping the insect upon contact |
| Structure | Recycled plastic, wooden stakes, mesh | Holding the trap in place |
| Placement | Measuring tape, garden twine | Ensuring optimal height |
Once you have your colors and adhesives ready, you can begin the construction process.
The 5-Step Process: How to build and install your traps
Walking through the rows of my backyard garden, I realized that the placement of a trap is just as important as the trap itself. If the trap is too low, the pests won't find it; if it's too high, they'll hit the plants first.
Step 1: Site Assessment Identify the "hot zones." Look at the lower leaves versus the new growth. Aphids often start in the sheltered areas or the very top of the plant. This tells you where the concentration of pests is likely to be.
Step 2: Trap Construction Cut your colored surfaces (like yellow plastic sheets) to a manageable size. Apply a thin, even layer of your adhesive—such as petroleum jelly or a sticky resin—to the surface. Ensure the surface is smooth so the weight of the adhesive doesn't cause the trap to sag.
Step 3: Strategic Placement Position your traps approximately 5–10cm above the plant canopy. This is the "intercept zone." You want the flying pests to hit the trap before they have the chance to land on the tender leaves of your crops.
Step 4: Installation Secure your traps to sturdy wooden stakes or the plant stems themselves (if using lightweight materials). This prevents wind from knocking them over or the weight of captured insects from tipping the trap.
Step 5: Monitoring & Resetting Check your traps every 3–7 days. If the yellow surface is covered in debris or too many insects, clean the surface or replace the adhesive. Constant monitoring allows you to gauge the pest pressure in your garden.
With the traps in place, the next question is how to handle the pests that manage to bypass them.
Beyond Traps: How to integrate natural predators and biological control
I watched a ladybug land on a leaf near my trap, and I realized the trap wasn't the end of the story—it was just the first line of defense. The goal is to create an ecosystem, not just a killing field.
The "Good Bugs" strategy is your secondary defense. Introducing or attracting ladybugs (*Coccinellidae*) and lacewings provides a permanent, self-regulating solution. While the traps catch the flying adults, these predators hunt the larvae and the colonies directly on the leaves.
Companion planting is another layer of defense. Planting Alliums (like onions or garlic) or Marigolds near your primary crops can mask the scent of your vegetables, making them harder for pests to locate. This "scent masking" is a natural way to disrupt the pest's ability to find its host.
For immediate physical control, use a sharp water jet. A strong stream from a garden hose can physically dislodge aphid colonies from the undersides of leaves. This is a great way to reduce numbers without any chemicals.
If an infestation becomes stubborn, organic sprays like Neem oil or highly diluted insecticidal soap can be used as a "knockdown" measure to clear the foliage.
Even with these layers, mistakes can happen. Understanding why a trap fails is the key to perfecting your method.
Common Mistakes: Why your traps might be failing
I once spent an entire afternoon setting up colorful traps, only to find them empty and my plants still covered in pests. I realized I had made the classic mistakes of the novice gardener.
The first mistake is wrong color or placement. If you use a color that doesn't match the target pest, or if you place the trap too high above the canopy, the insects will simply fly right over it. The trap must be within the flight path of the pest.
Second, watch out for over-saturation. If you apply too much petroleum jelly or adhesive, the trap becomes heavy, attracts dust and debris, and becomes an eyesore. A thin, tacky layer is much more effective than a thick, gloopy mess.
Third, do not neglect the source. A trap is a management tool, not a cure for a massive infestation. If your plants are already heavily colonized, the trap will only catch a fraction of the population. You must still address the heavy clusters on the plants.
Finally, watch out for the "honeydew" factor. The sticky residue left by aphids attracts ants. Ants actually "farm" aphids, protecting them from predators in exchange for the sugar-rich honeydew.
If you don't clean the sticky residue off your plants, you are essentially inviting an army of ants to protect your pests.



Comments 0